Step-by-Step Guide to Creating Your Listing
A detailed walkthrough of every step in the listing creation wizard.
The Listing Creation Wizard
Creating your listing takes about 10-15 minutes. The wizard walks you through everything, but here's a full breakdown of each step so you know what to expect.
Step 1: Title and Description
Start with your listing title and description. The title should be clear and location-specific (e.g., "Salon Suite for Rent in Downtown Tampa").
For the description, you can write your own or use the Writing Prompts feature. Writing Prompts asks you a few guided questions about your space and helps you put together a professional description. It's a great option if you're not sure what to write.
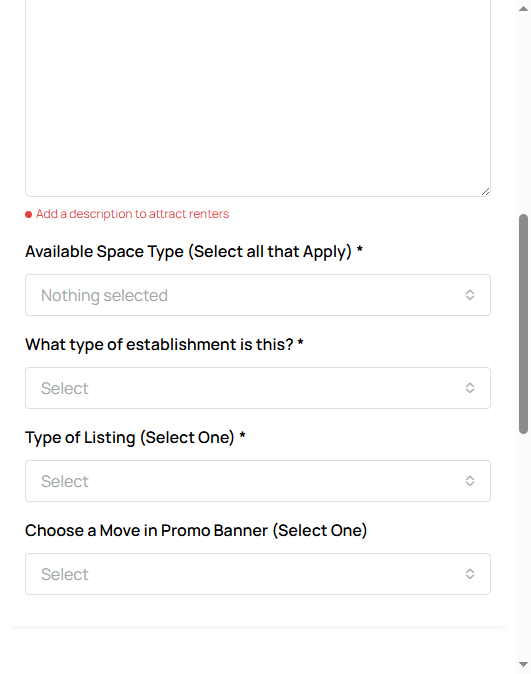
Step 2: Space Type and Establishment
Select your space type (booth, suite, chair, room, or full salon) and your establishment type (hair salon, barbershop, nail salon, lash studio, med spa, etc.). This helps renters filter and find exactly what they're looking for.
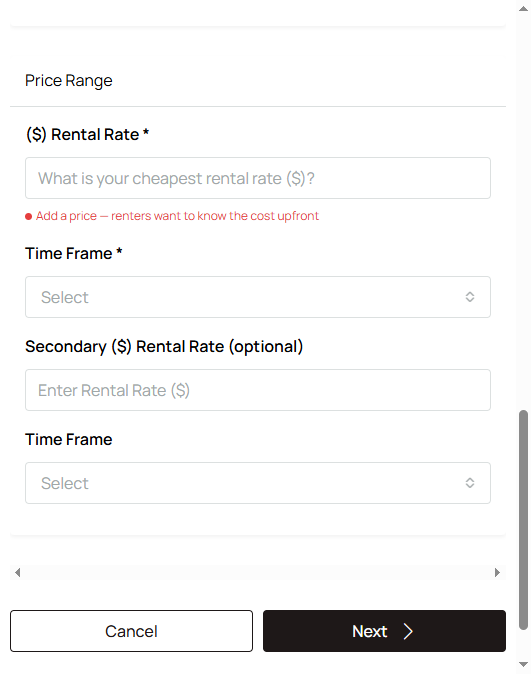
Step 3: Pricing
Set your rental rates. You can enter daily, weekly, and/or monthly pricing depending on what you offer. Be transparent here. Renters appreciate knowing the real cost upfront.
Step 4: Photos and Video
Upload as many high-quality photos as you can. Photos are the single biggest factor in whether someone clicks on your listing. Show every angle of the space, common areas, parking, and the exterior.
You can also upload a video tour (.mp4, .mov, or .webm, up to 500MB) or paste a video URL. Video tours give renters a much better feel for the space than photos alone.
Step 5: Amenities and Features
Go through the amenities checklist and check everything that applies. This includes things like WiFi, 24/7 access, parking, utilities included, in-suite sink, and more. Renters use these filters to narrow their search, so the more you fill out, the more likely you are to show up in results.
Step 6: Location, Details, and Final Settings
Enter your address and confirm the map pin location. Fill in any additional listing details.
You'll also see options for:
- Move-in promo banners (Free Rent, Discounted Rent, etc.)
- Number of rentals available (if you have multiple units)
- GDPR and notification preferences
- Social media links
Once everything looks good, submit your listing. It will save as a Draft until you purchase a marketing package to make it live.